
Losing data indeed feels like hell. One fine morning you can’t find some important data you have created or worked on, this could ruin your whole day or even the week. And if these files are something very rare of hard to get, then no wonder you are screwed. Accidental deletion of files is not very common; however they tend to happen to people. And when a data loss event occurs, the best way to get over it is to know how to recover data effectively at the fastest possible time. EaseUS Data Recovery software chain has the best solution for everyone.
Discontinue using the Drive
To attempt data recovery operation on a hard drive, the first and foremost task is to discontinue using the hard drive. Every file is linked with a directory when stored in hard drives; and that’s the first thing gets erased during a file removal process. The remaining bits of the file still remain on the disk due to some technical specifications of a magnetic disk. If those bits are intact, a directory might be re-created by data recovery software to make those files reusable again.
Continued usage of a drive after the directories have been deleted can scatter the remaining pieces. In such cases, even the most advanced data recovery software would have trouble to find those pieces and put them together, in most cases it is impossible to do so. Best option most users have after a data loss scenario is to disconnect the drive and stop using it.
Afterwards, proceed with the three step recovery process as illustrated below.

1. Determine the File Type you Want to Recover
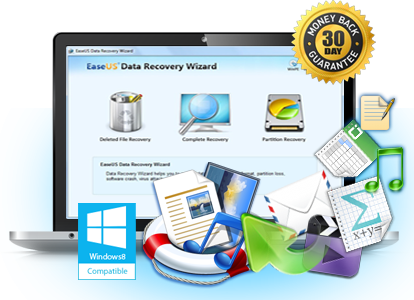
To perform a hard drive recovery operation, it is vital to know the file type that has been lost. Scanning the whole disk for a bulk variety of files will only mess up the lost file directories even more and end up finding nothing. Instead, from the EaseUS Data Recovery’s initial display, choose one type from photo, video, music, emails and documents. Data Recovery would look for only one type of file within the hard drive and eventually give you a result list that contains only the preferred ones.
2. Preview Before you Recover
Ignore anything that’s not relevant; rather just recover the file you need. The least you mess with the file system, the better it is for your hard drive. EaseUS Data Recovery offers the preview window to make the whole process lot easier. It’s a major selling point that differentiates EaseUS programs from many others.
3. Finally, Recover your Data
After you have selected all the filters and necessary settings, hit the orange Recover button in bottom right. The files will be recovered and put into the directory set by the user. The process would take some time depending on the file size. For successful recovery, not using the computer during the process is necessary.
Conclusion
If you are in quest for a hard drive recovery software, EaseUS Data Recovery could be your best pick.


